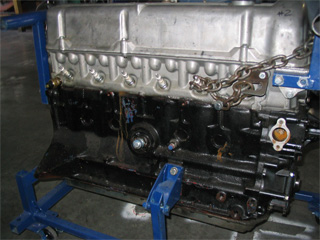
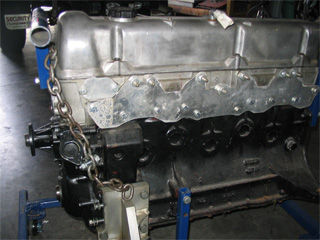
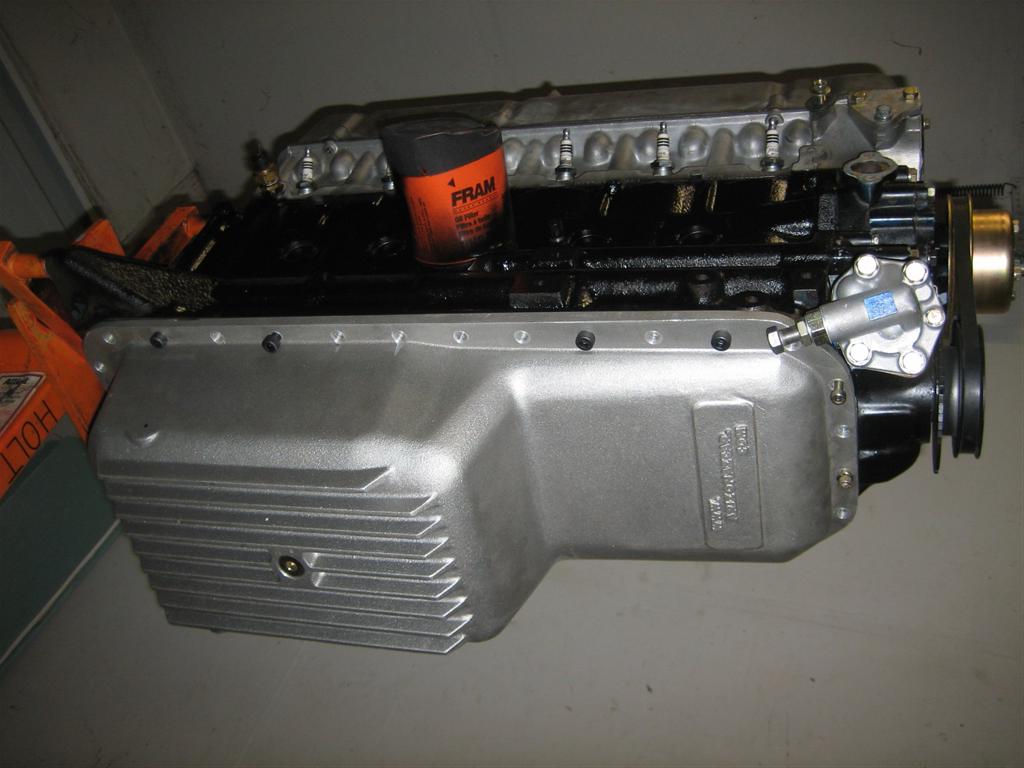
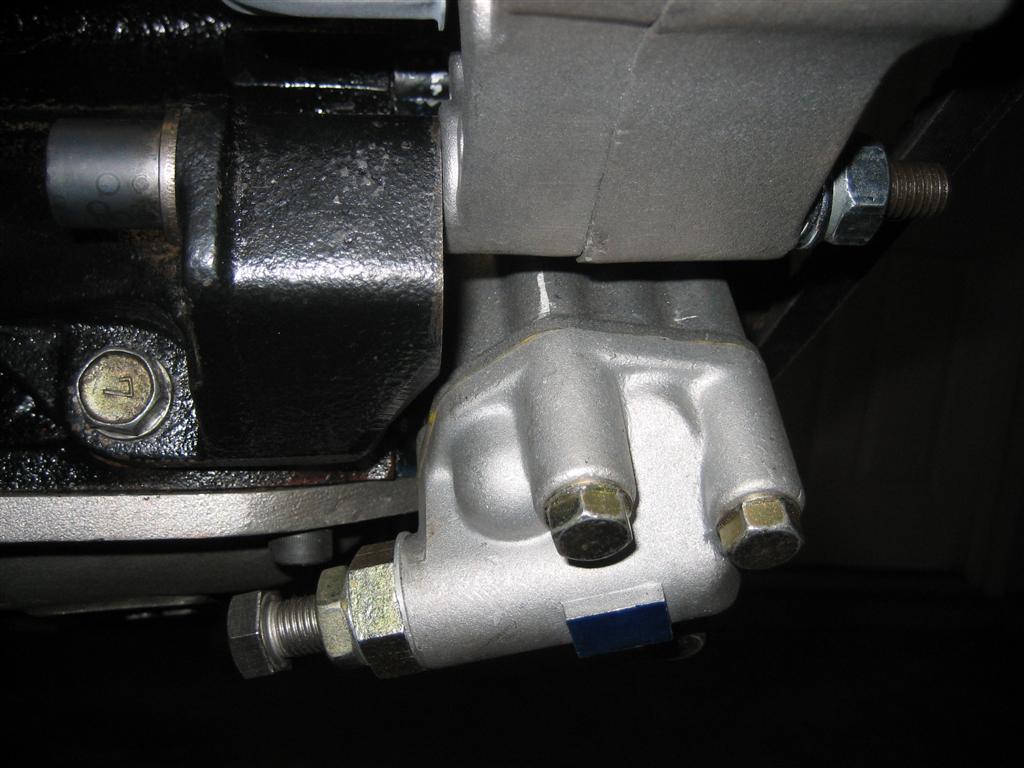
The first step in the process was sourcing a former GT2 L28 motor from Wolf Creek Racing. My experience with Todd Walrich and Wolf Creek Racing was top notch. Todd also suggested using the uShip service to ship the motor from New York to San Antonio, TX and I was very pleased with the shipping service. Since the motor was originally built for road racing, the cam was not ideal for autocross use, so on to the next step... (but first, some pics of the GT2 motor)
The second crucial step in the overhaul was to deliver the high RPM GT2 motor
Ed Gilfus at
Applied Racing Technology
to install and properly time the new Schneider autocross cam. Ed has been
working on Datsun Z cars for many years and his experience with the L28 is
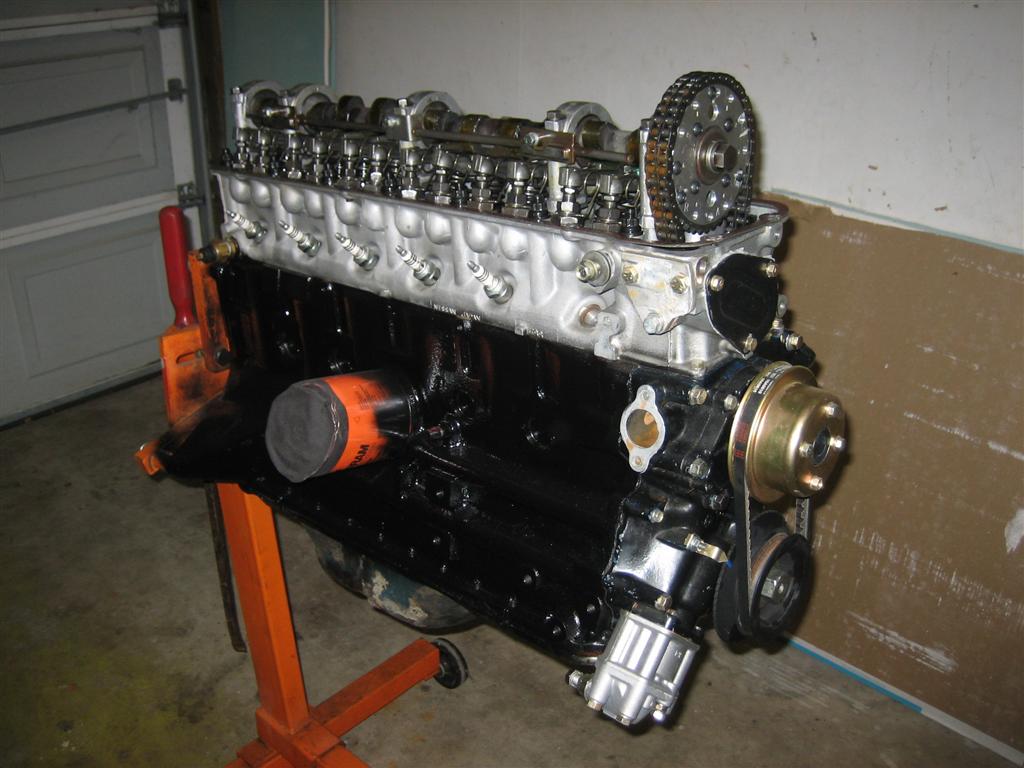
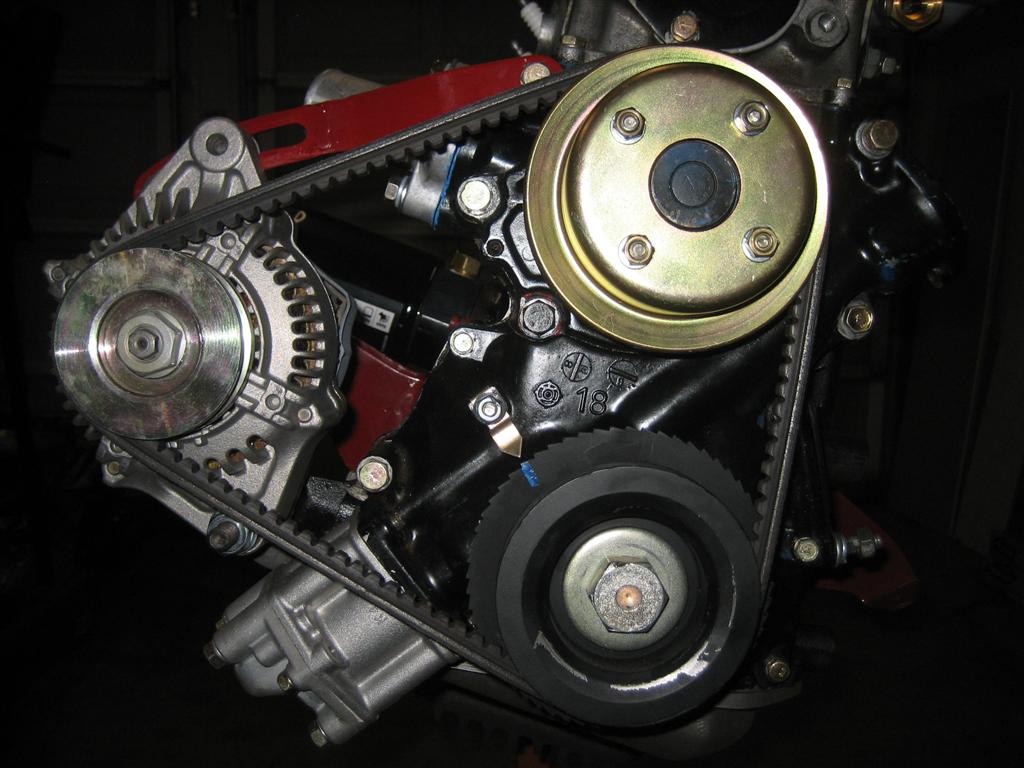
unmatched in this area of the country. Here are pics of the motor back from Ed's
shop. I also threw a quick coat of paint on the block.

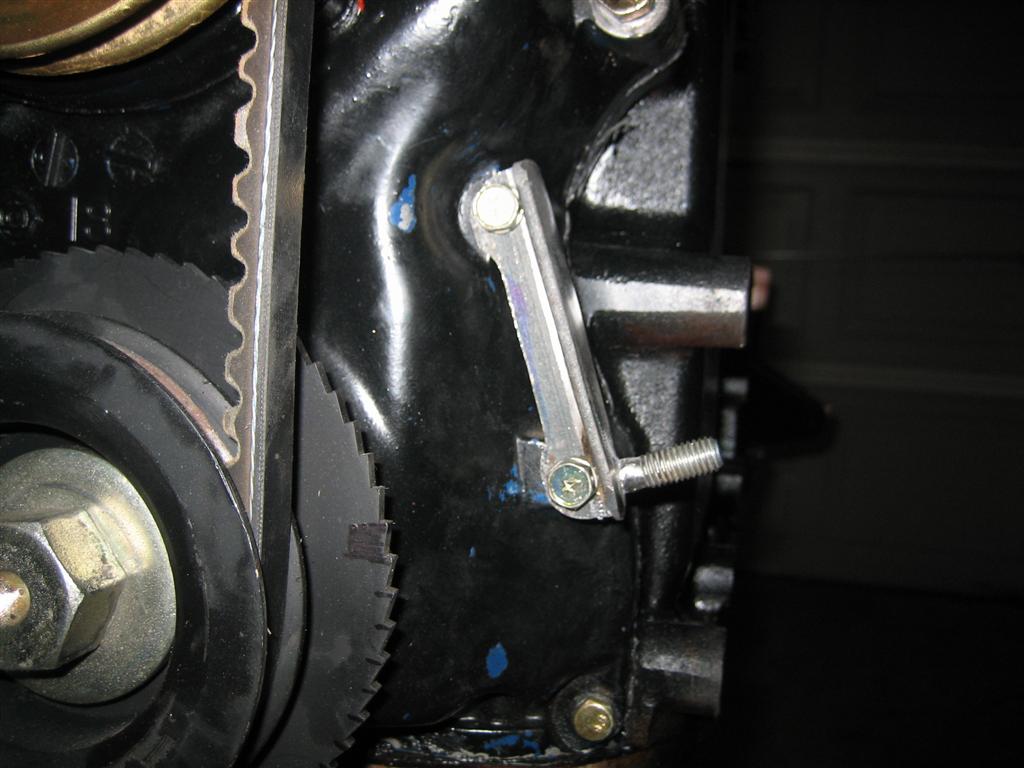
The new motor is crank triggered and already had a trigger wheel attached to
the crank pulley when I received it. I had to fabricate a crank sensor mount.
I used an aluminum ebay sensor mount and a piece of angle iron as a bracket and a cutoff
bolt. There's only one stud locating the aluminum mount to the bracket but I machined
out part of the bracket to hopefully positively locate the mount. Also pictured
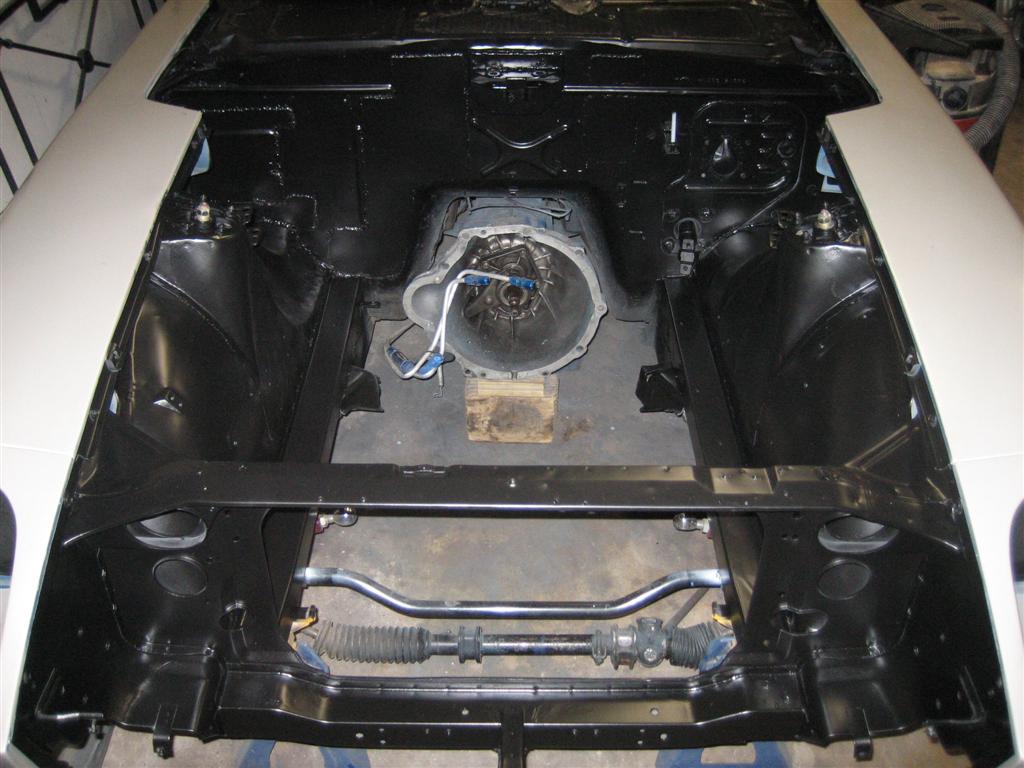
is the Arizona Z Car cast aluminum oil pan mocked up to the block.


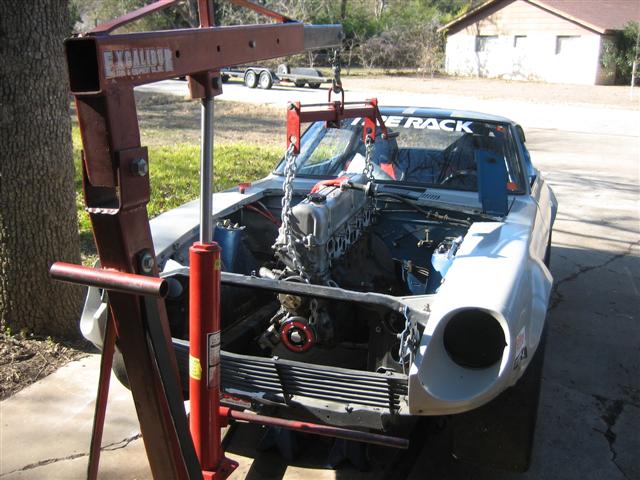
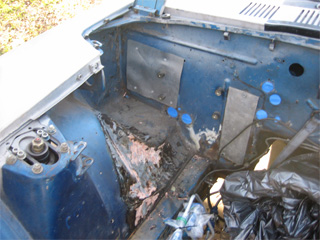
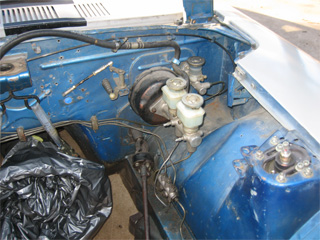
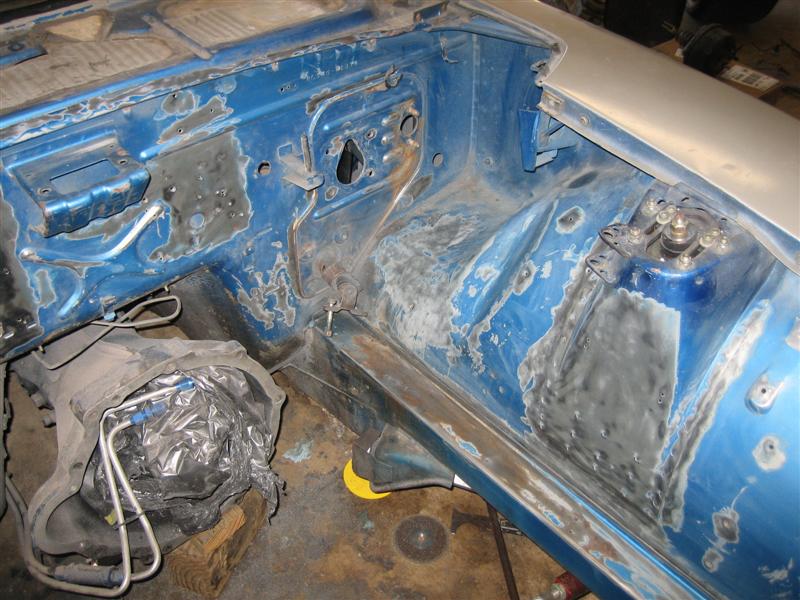
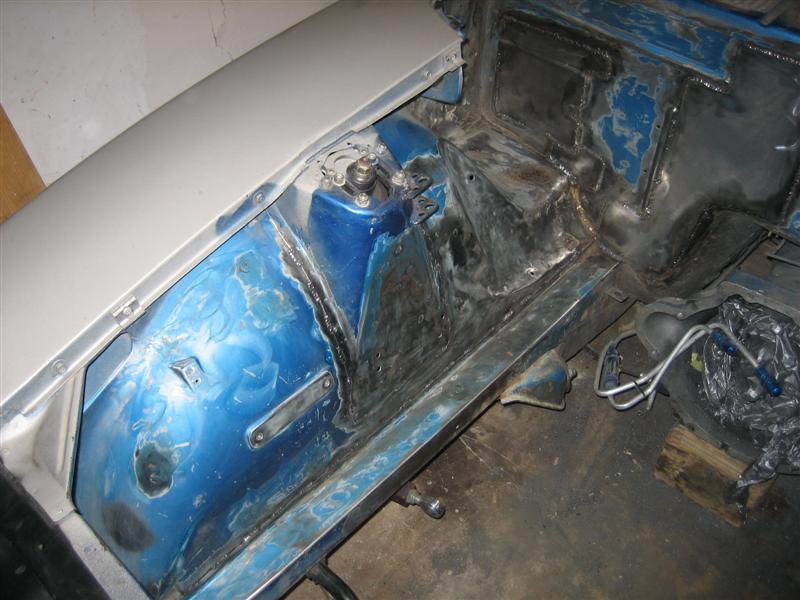
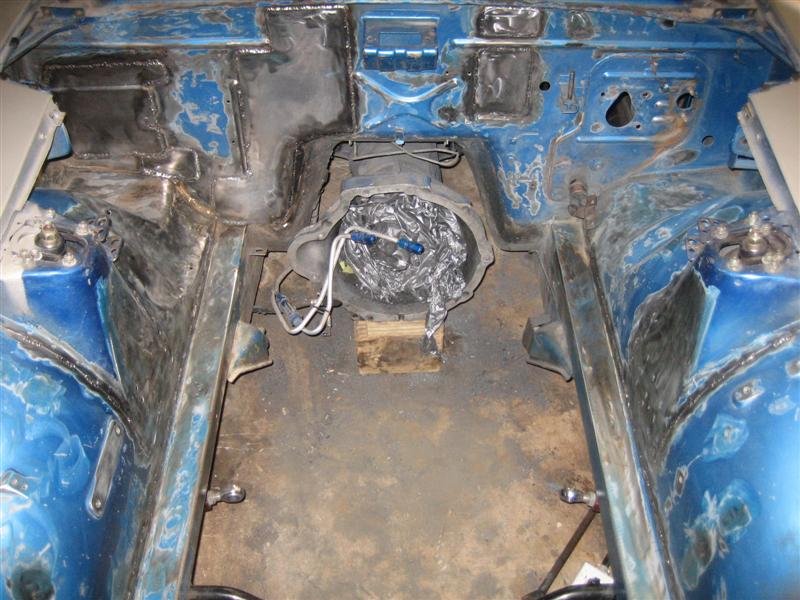
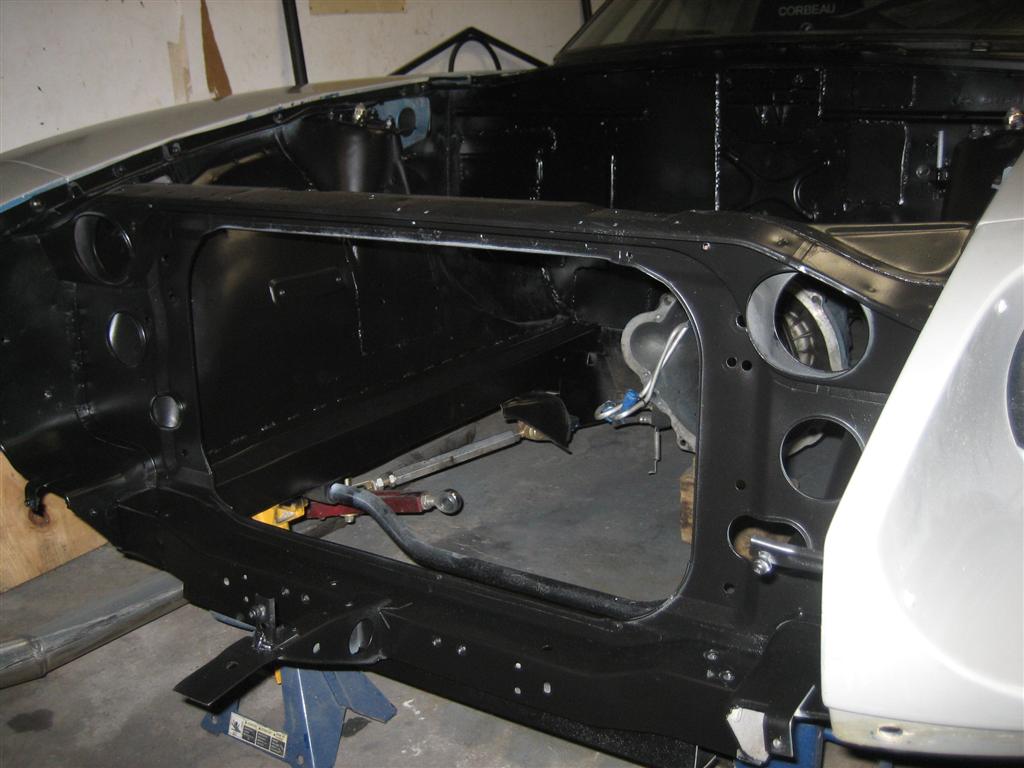
Meanwhile, instead of just sitting on my butt while Ed did all the hard work I began collecting all of the extra parts, hoses, ignition components, etc. that I would need for the new build. In addition, I removed the old motor, and started the process to clean and strip the engine bay. The plan is to do a little bit of firewall patching and seam welding while I'm in there and make everything look good for the forthcoming motor transplant.
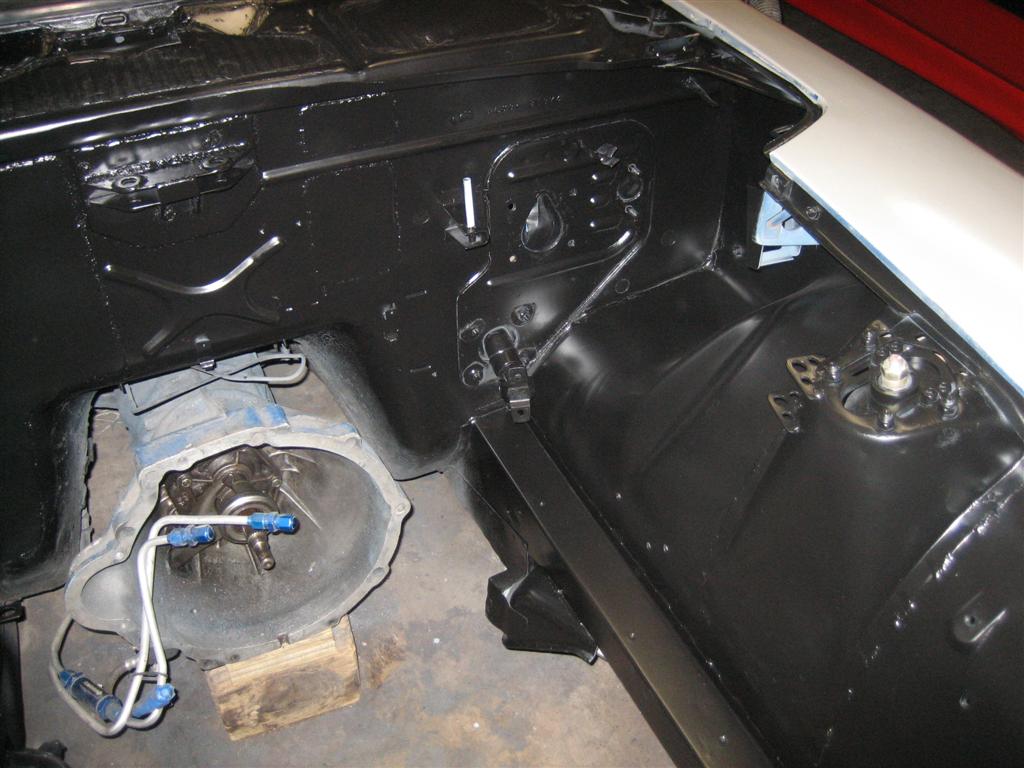
First, some pics of the engine bay before starting the project. This car originally
had an aftermarket A/C unit, hence all of the extra holes in the firewall. Needless
to say, I did the bare minimum during the original build up of the car. It
was all about getting it running at that time, now it's about getting it
running (again) and making it look good too!

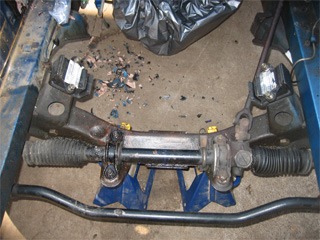
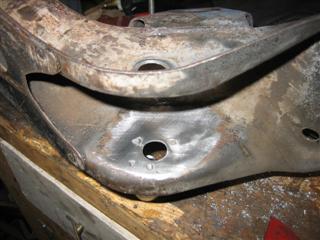
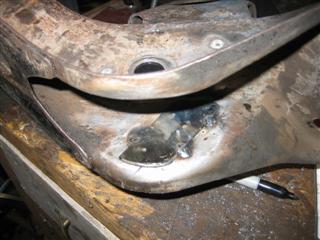
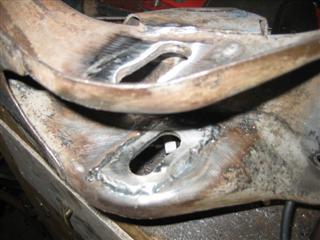
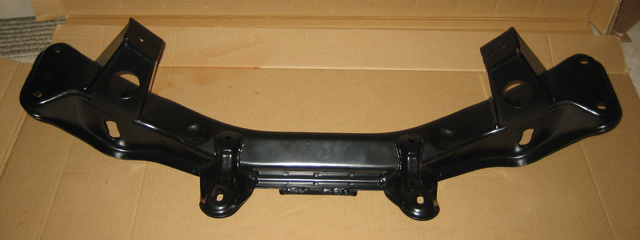
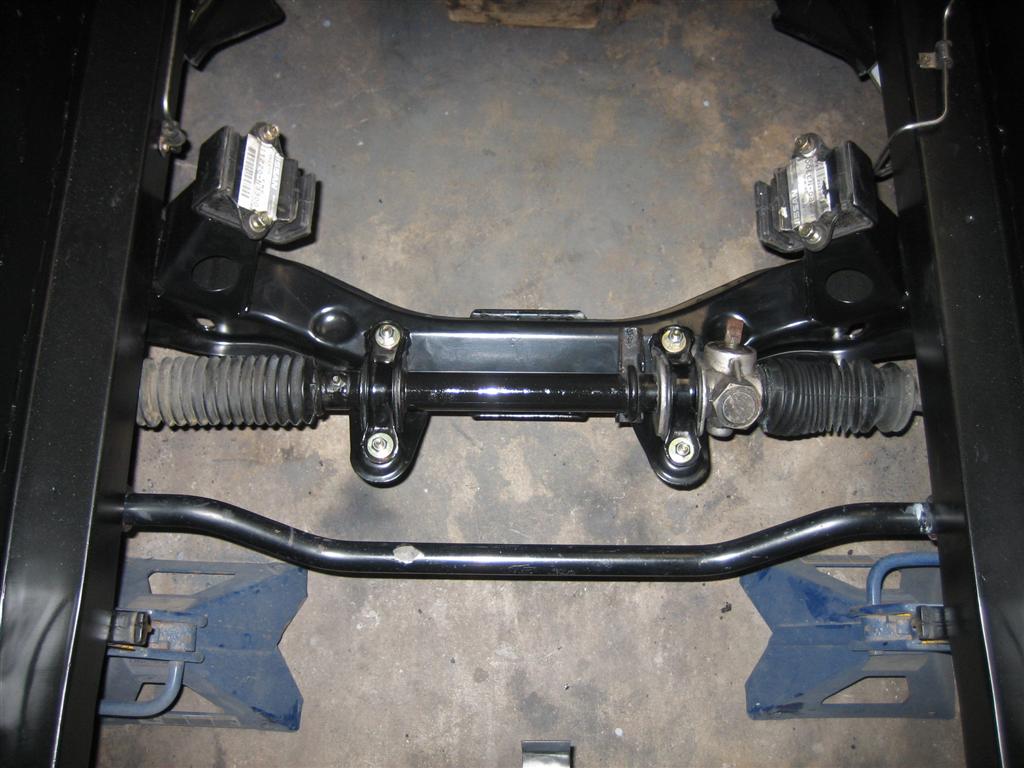
The crossmember needed to be pulled to get all the grime off of it from years of
oil leaks so I figured I'd slot the control arm mounting holes while it was
out. The holes were slotted one inch (1") and reinforcements were added. I
sent it off to the powdercoaters after slotting since I had some time before
the motor would be ready anyway.
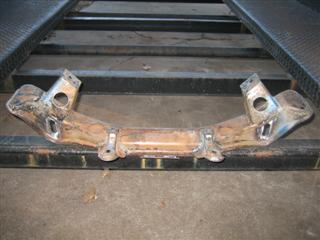
And, back from the powdercoaters. This thing looks so good it's going to be
a shame to put it back on the car. Good incentive for putting the extra effort
into the rest of the engine bay as well as an extra reason to keep engine leaks
at bay during the season.
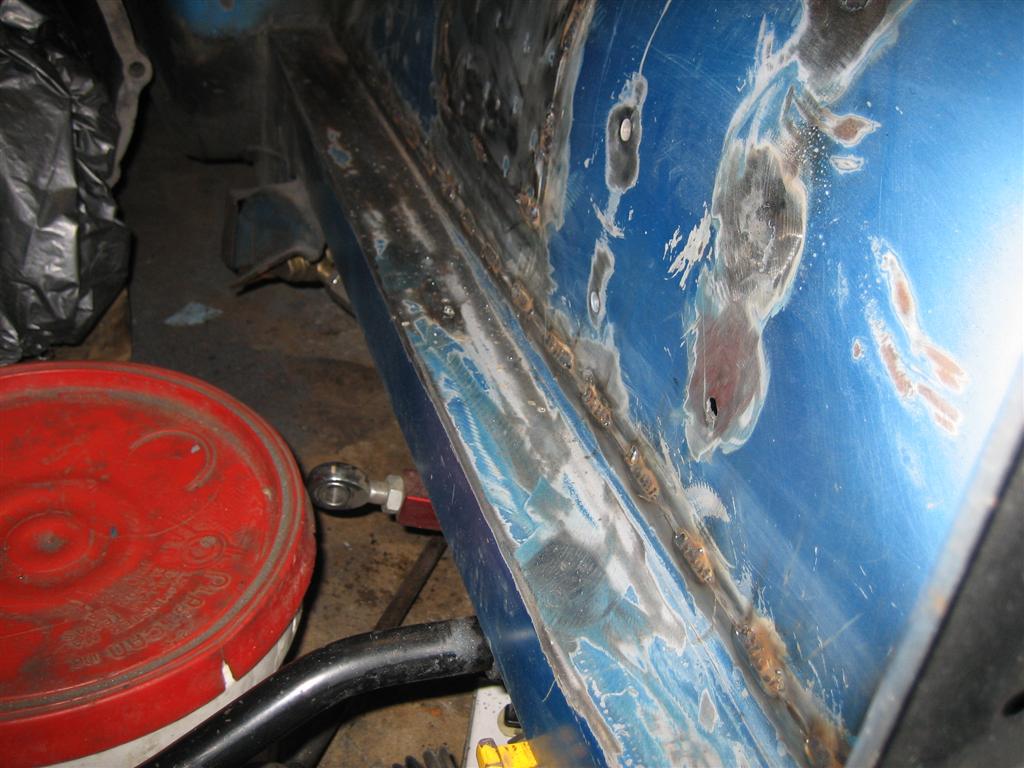
Firewall patching and stitch welding were next on the list while the motor
was out. This is probably the most I've welded in any one day and
the first time doing anything with sheet metal. It was good practice and I
think it came out decent for an amateur. Just need to clean it up a bit more
and wait for a nice warm day to paint.


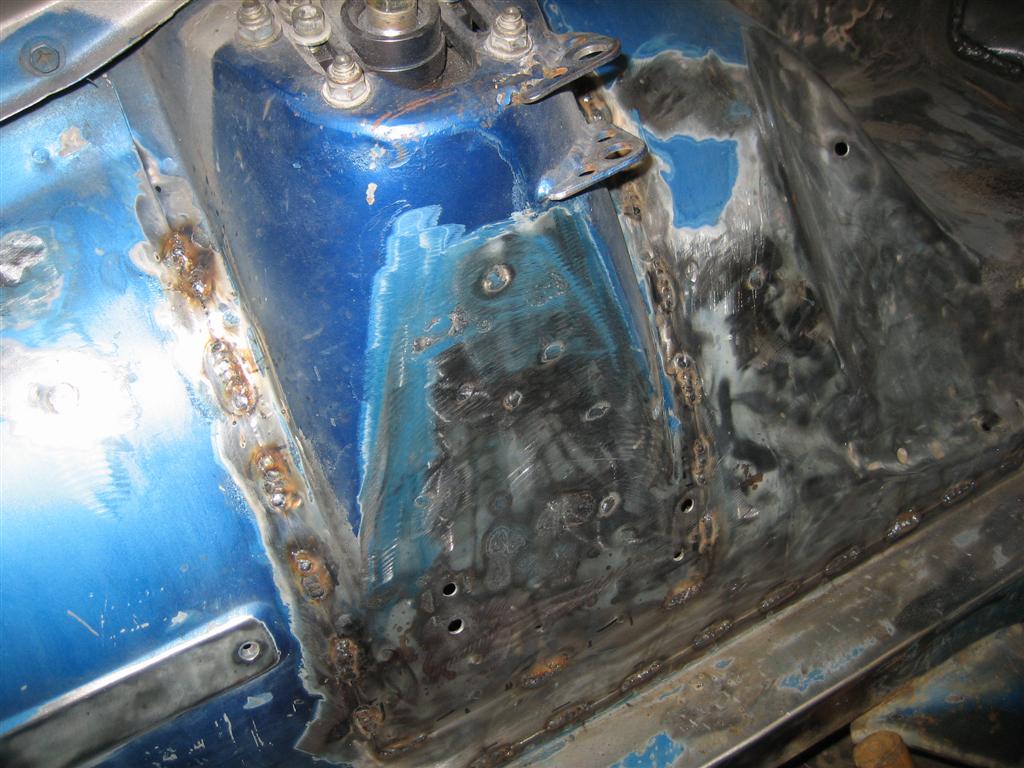
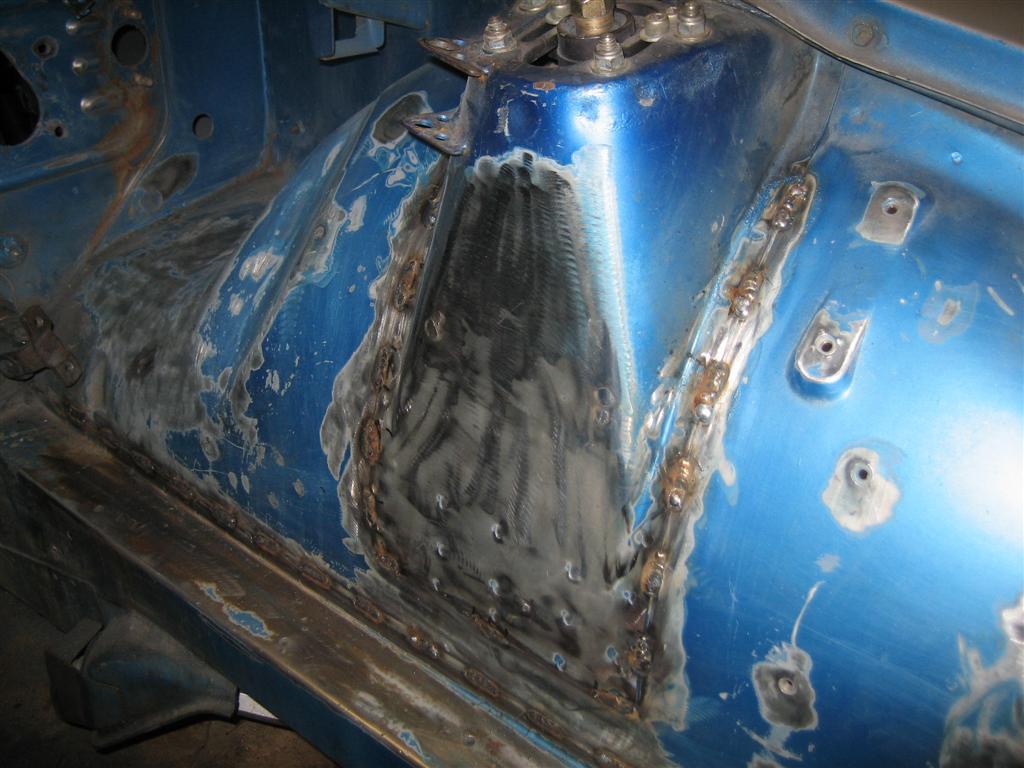
And, of course, some pics of the framerail and strut tower stitching. Pay close
attention to the bucket with the red lid, that was my "office chair" through the
whole project.

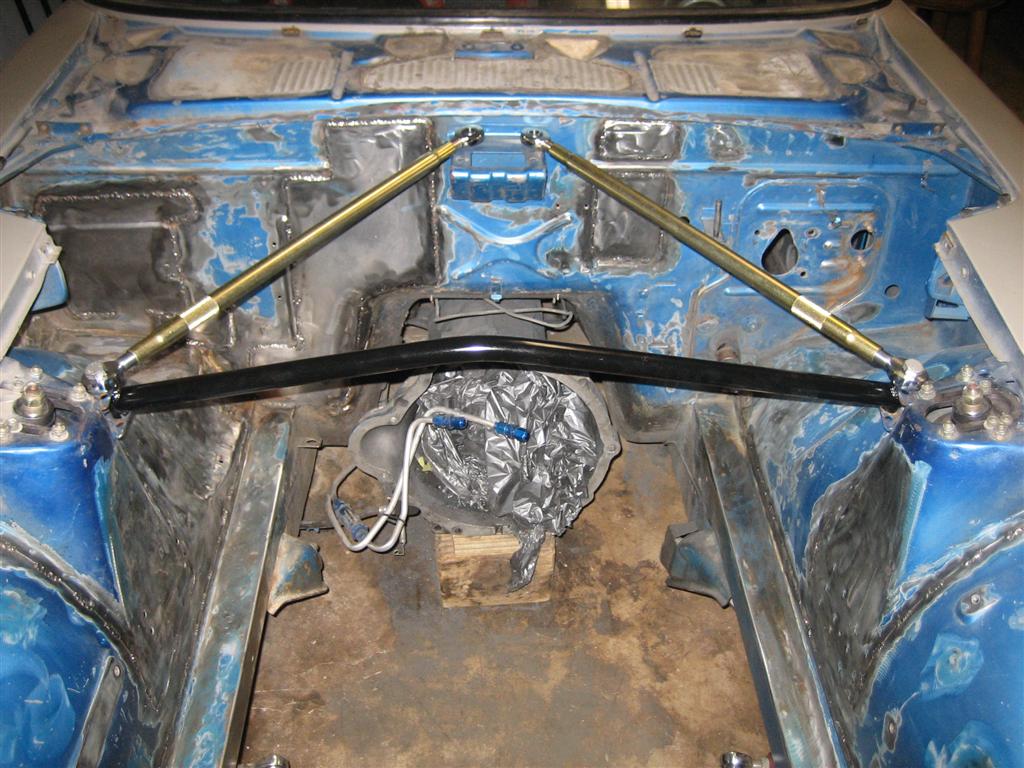
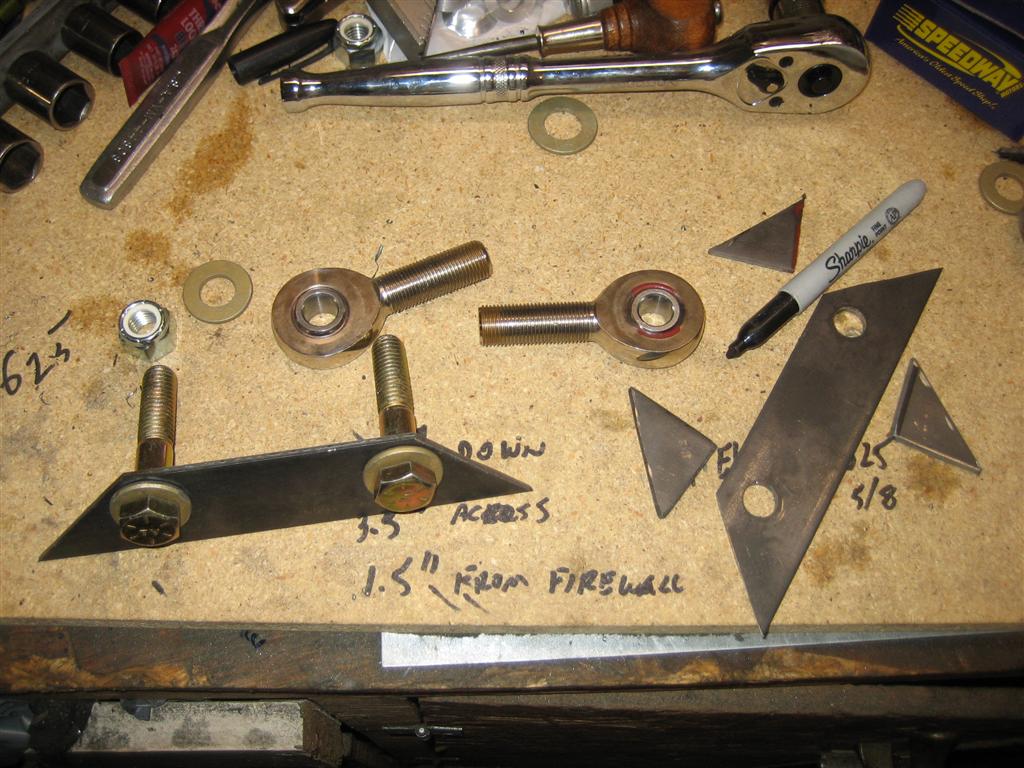
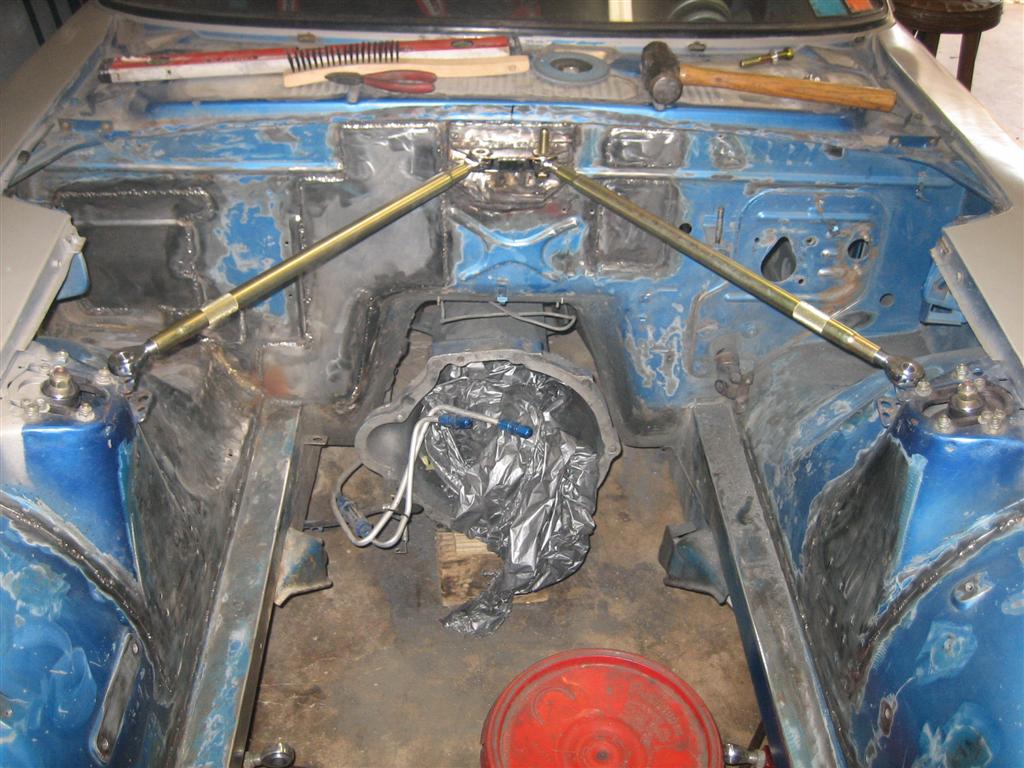
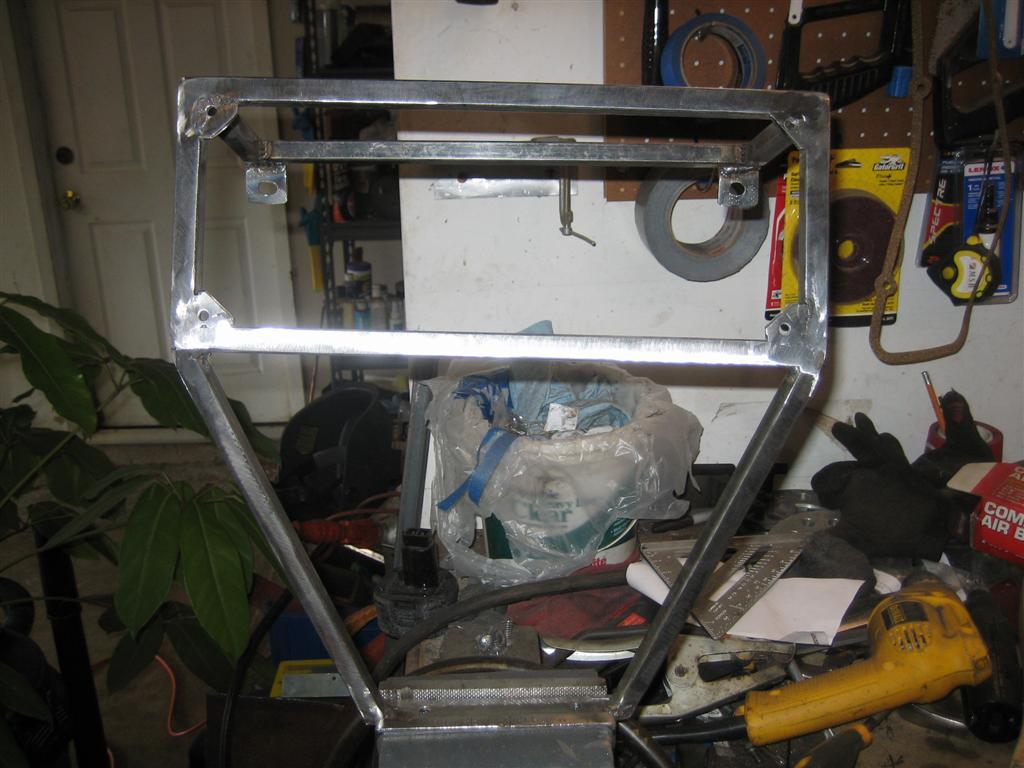
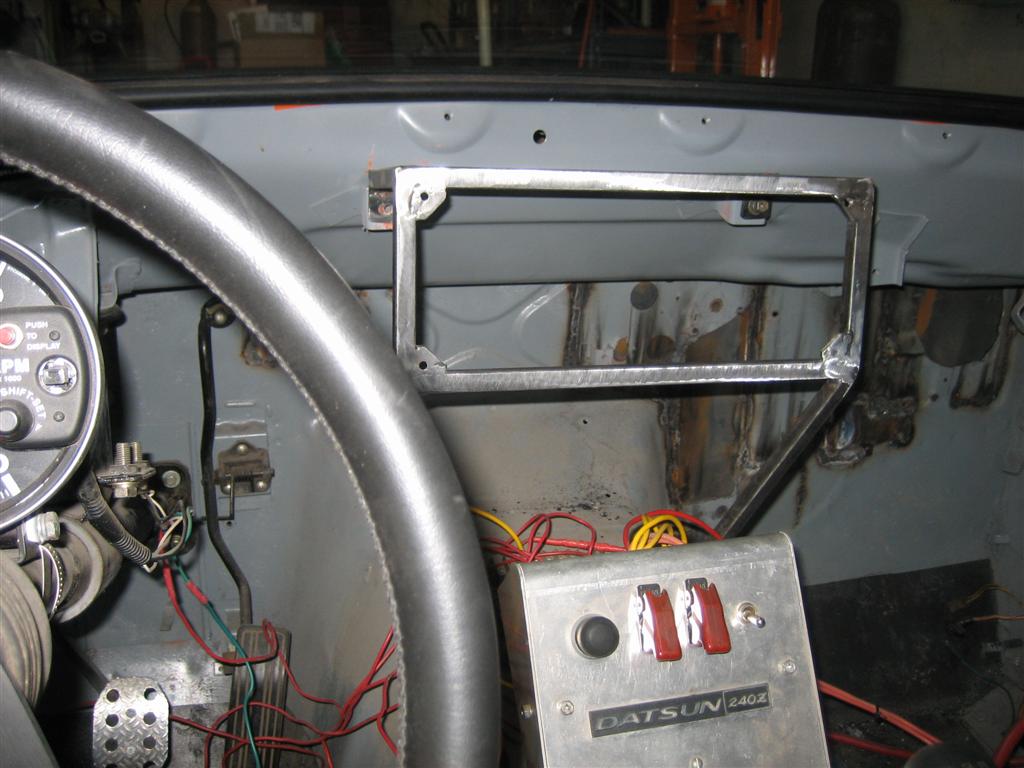
Another "while I'm in there" came up and I decided to build a simple strutbar
brace back to the firewall using heims and two swedge tubes. If you read
HybridZ.org, you'll know that mounting to the firewall can bring up days of
debate so I didn't skimp on the mount here and used some steel plate to brace
it. It will either make a structural difference or just look bling and
contribute to the car's minimum weight. ;-)

Enough of this fabrication and prep stuff, time to finish this thing up and
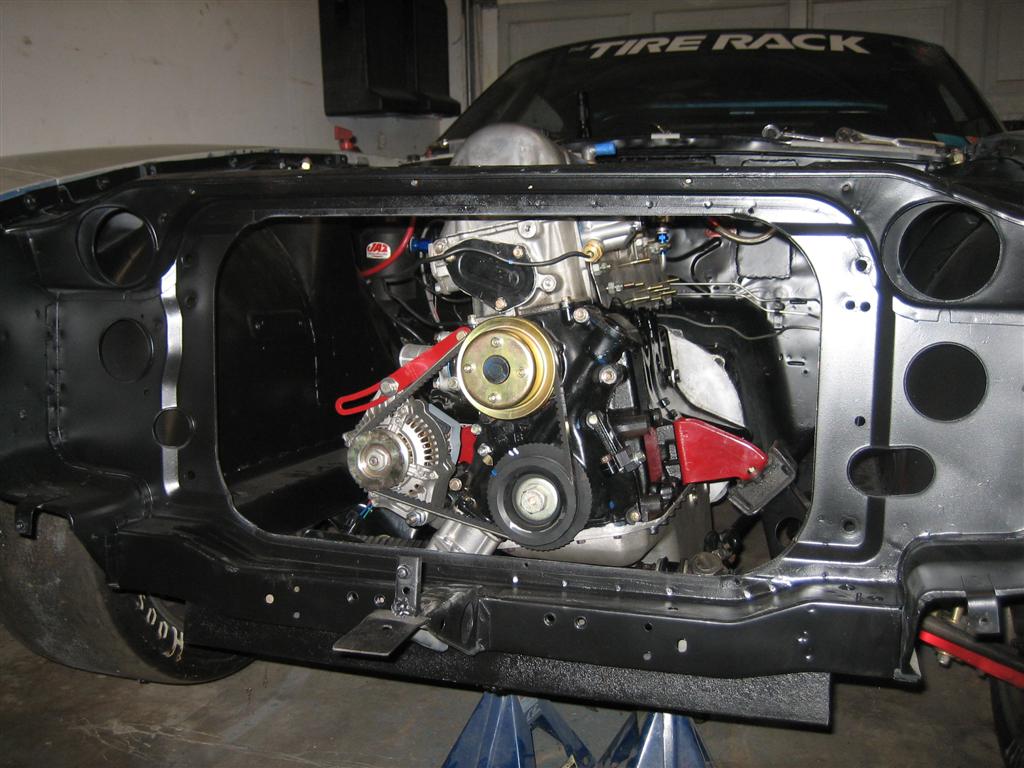
start putting her back together. But first, two coats of primer!
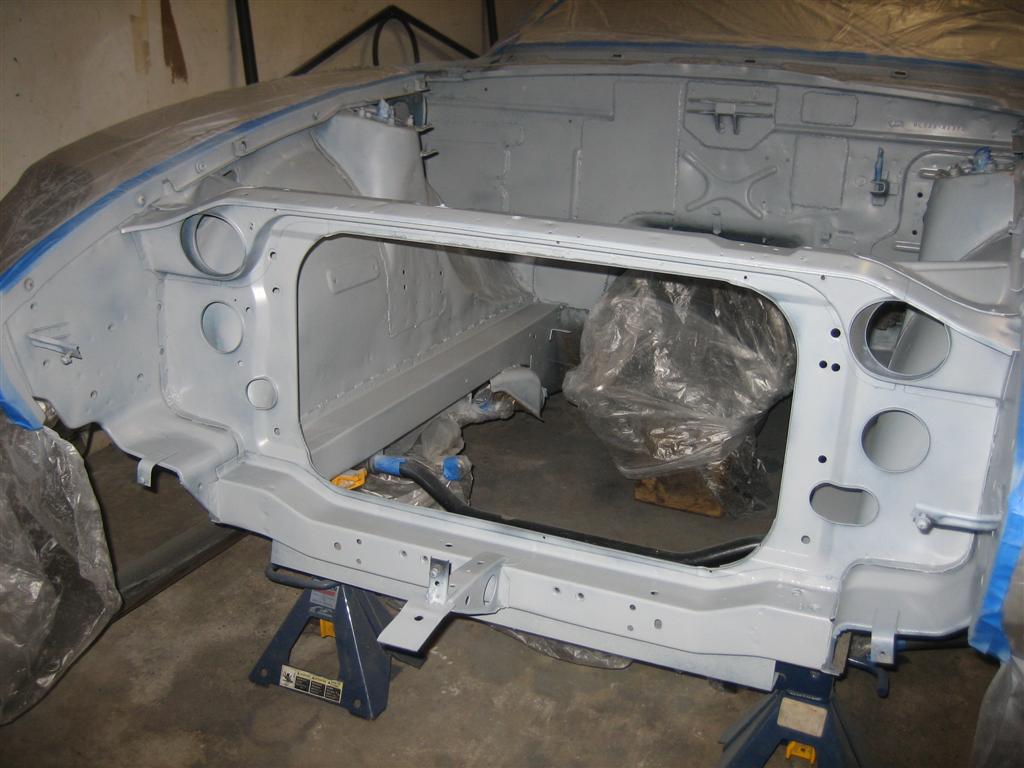

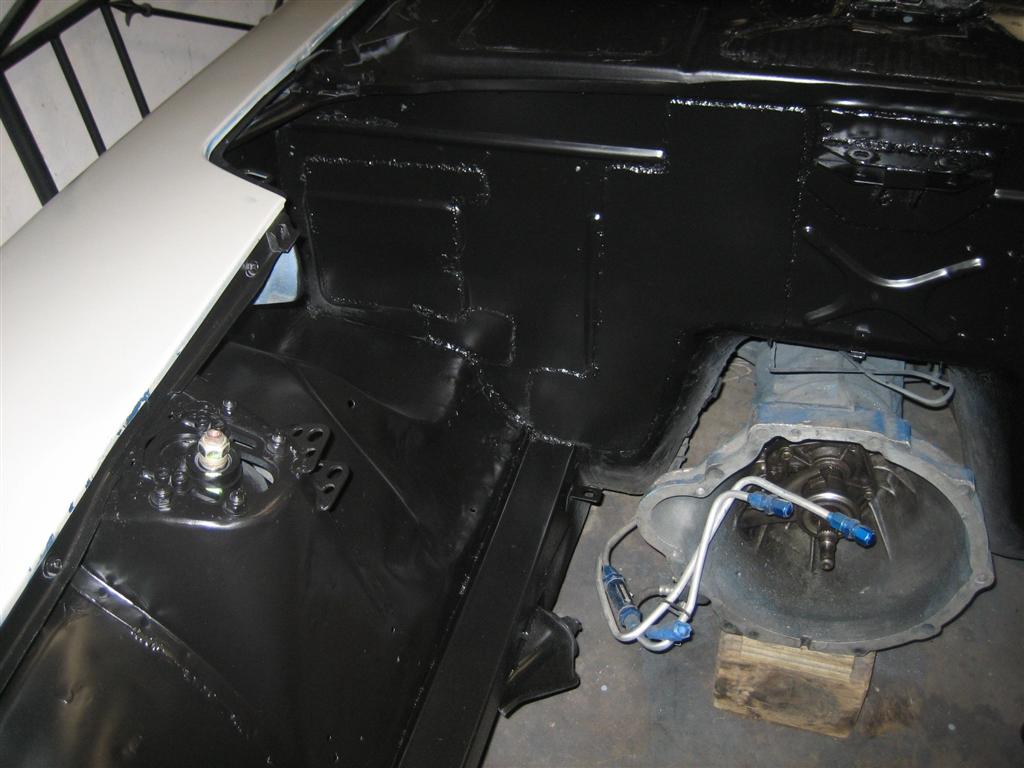
And after three coats of Eastwoods Underhood Black. Sure, it's not perfect, but
I'm not a painter and I did this in my garage on the weekend. It's good enough
for a Prepared car! Anyway, take a look at it now because it will never be this
clean again...
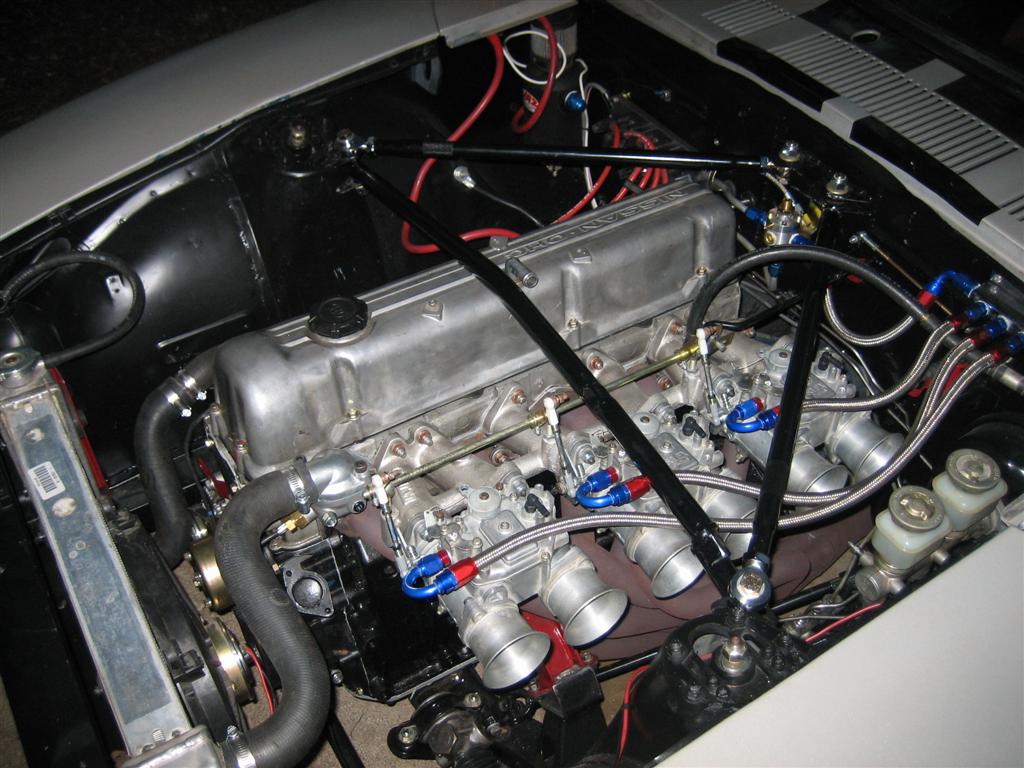
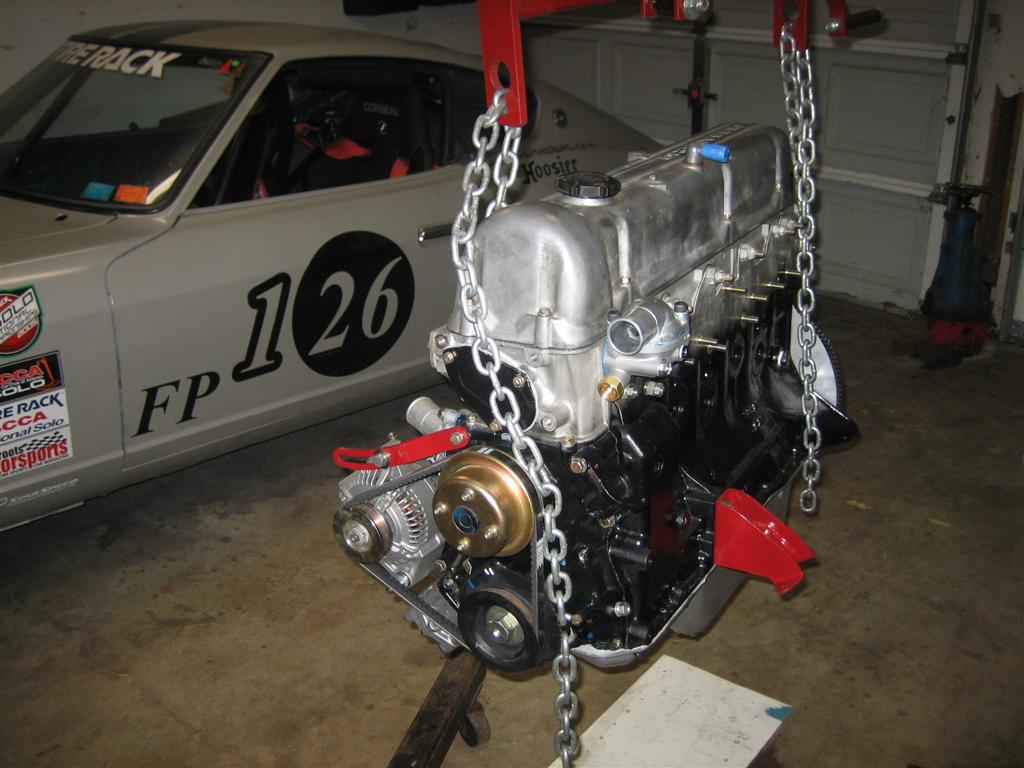
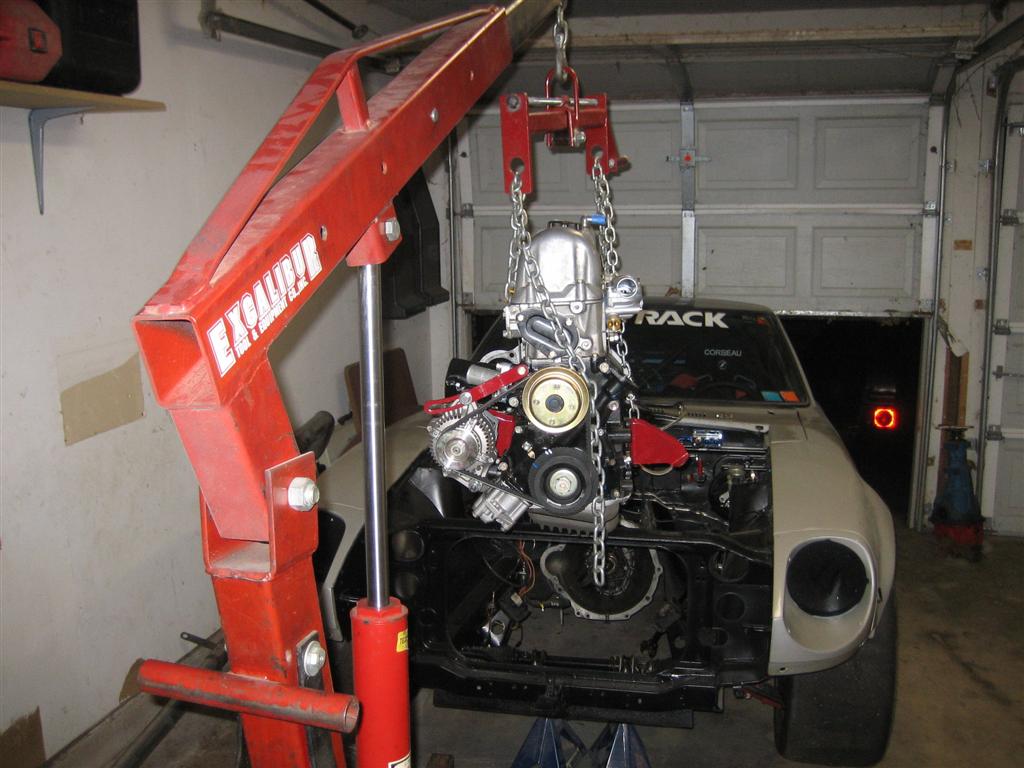
And the reassembly begins...
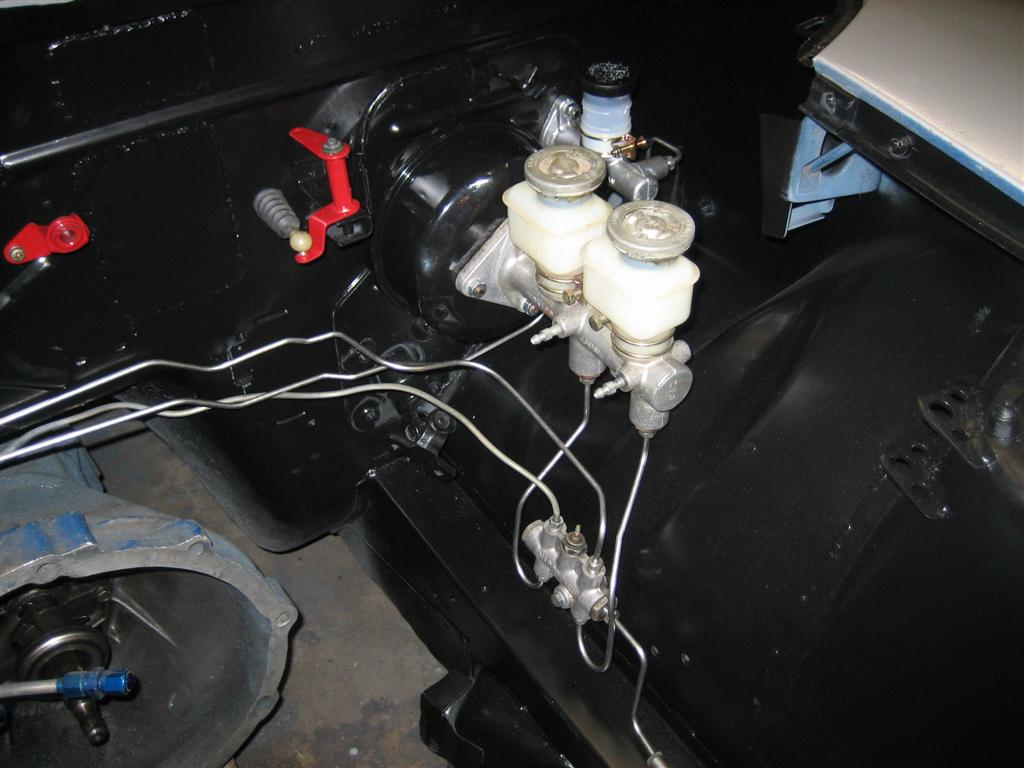
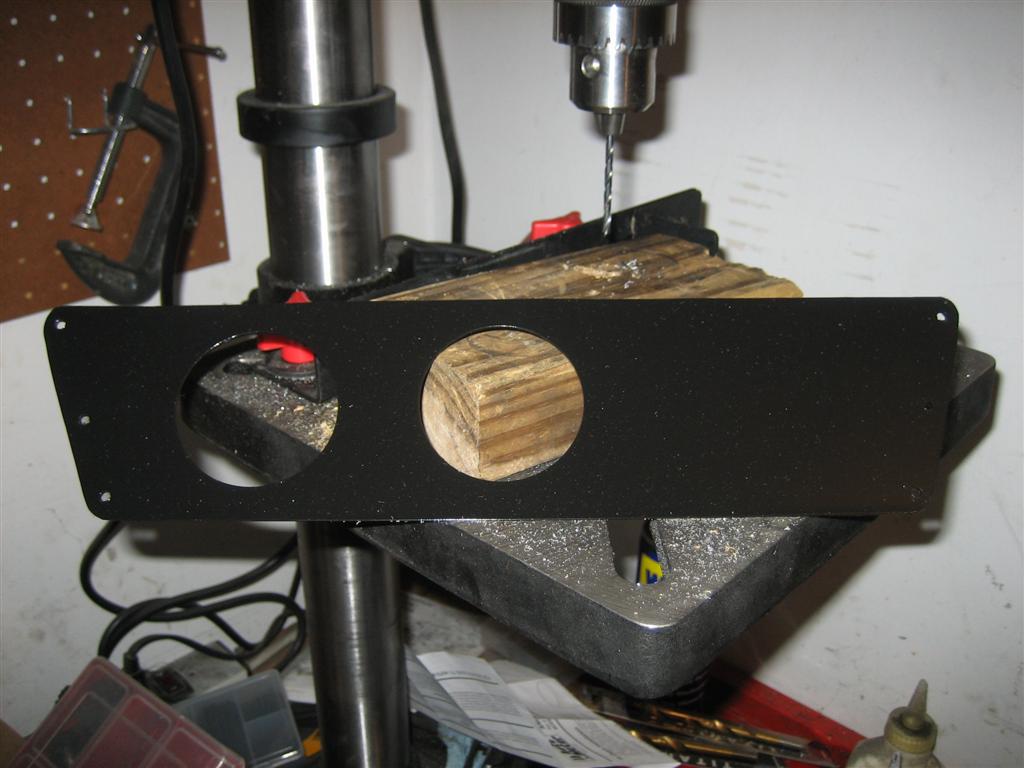
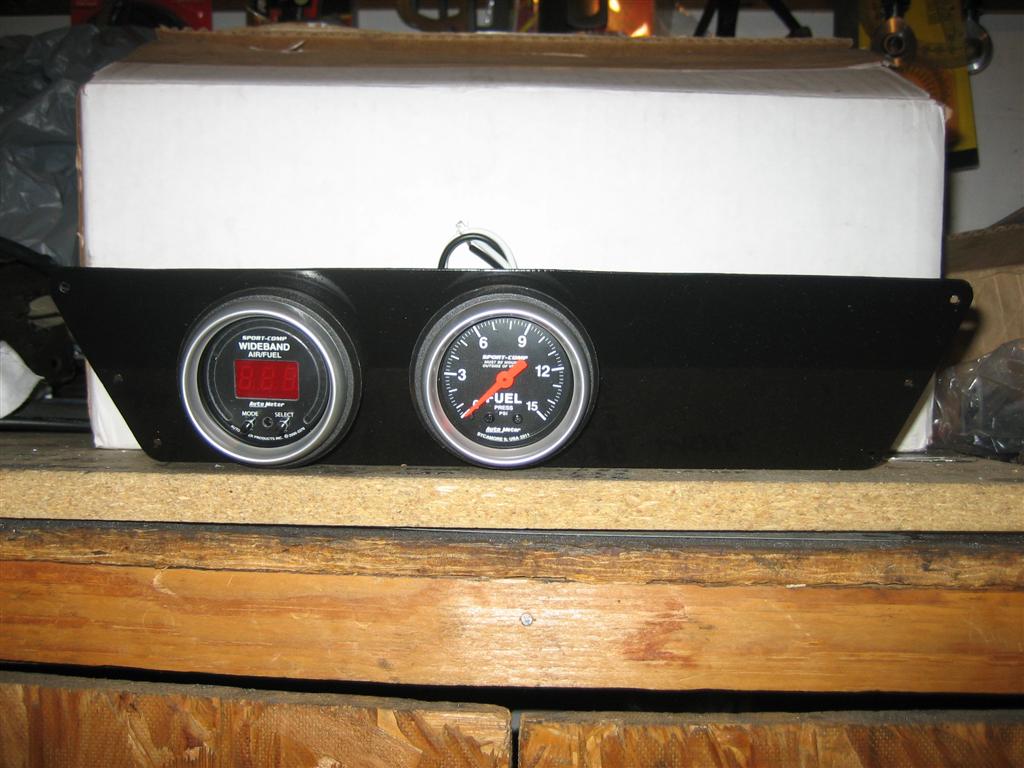
Next up: instrumentation, ignition, and fuel...


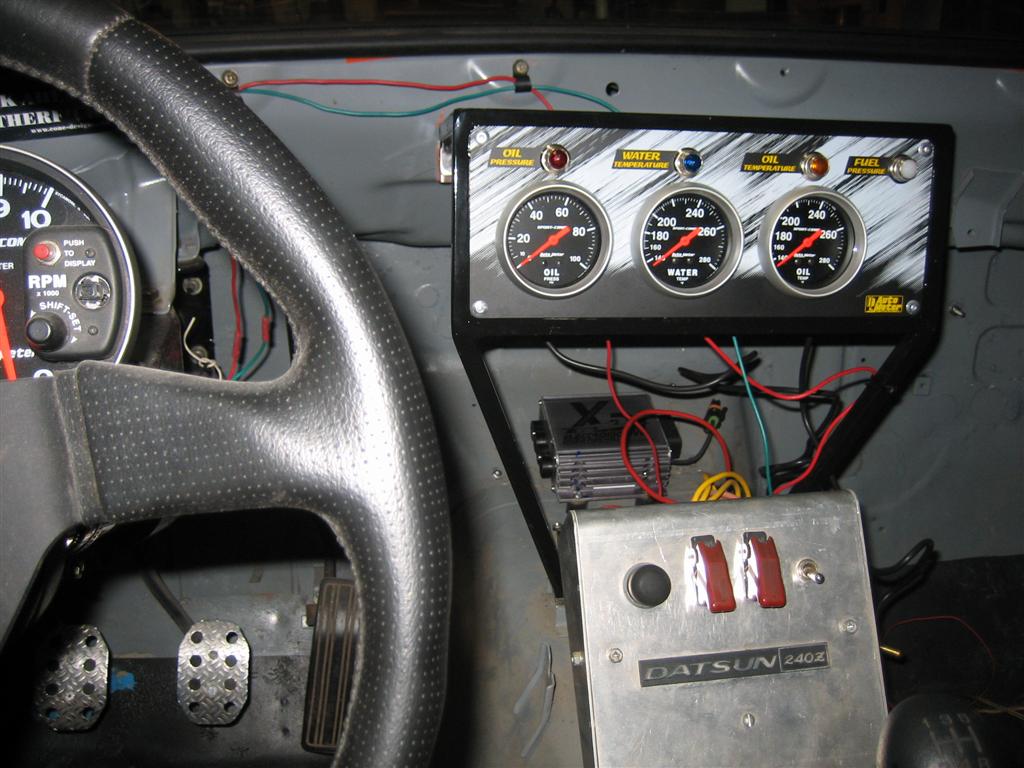

More gauges and plumbing...

The trigger wheel pulley that came with the GT2 motor had the pulley groove where
the second pulley usually sits. The water pump pulley was shimmed up with washers
to keep everything in alignment. Unfortunately, this meant my old ZX alternator
would not work without some modification. Since I was going to modify the bracket
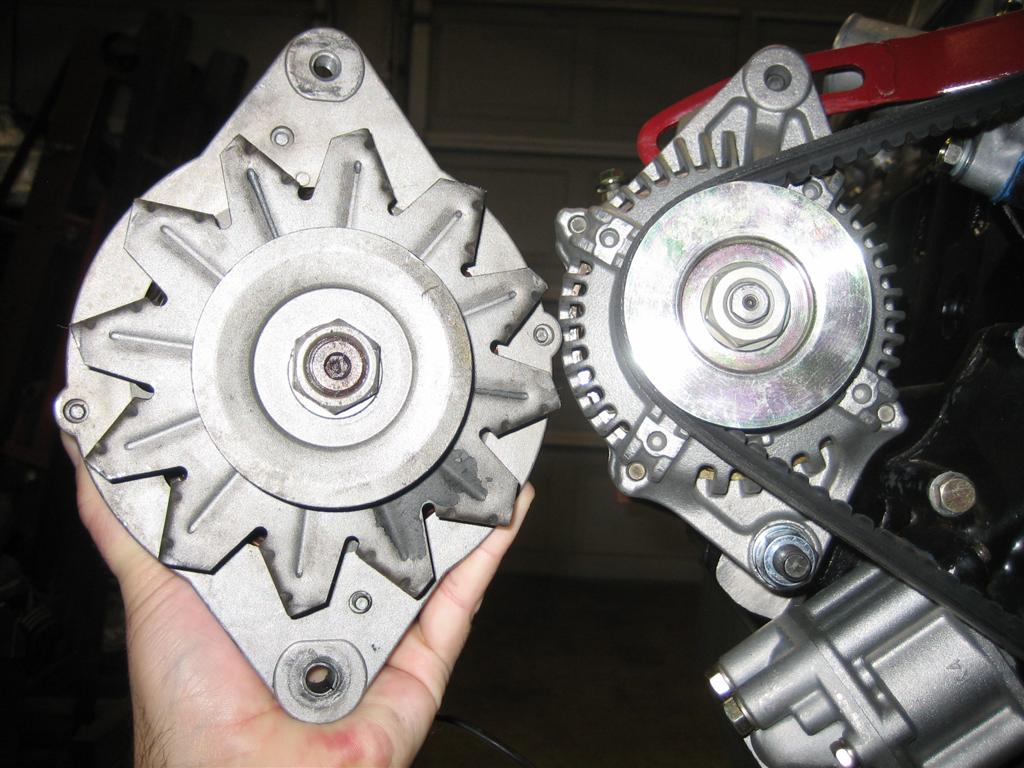
anyway, I started looking into smaller lighter alternators.
The Powermaster stuff seemed too pricey and I just happened to have an old AE86
alternator core from my Corolla days collecting dust. This alternator is only
rated at 60 amps but should be perfectly capable for a racecar. The bottom
bracket had to be modified (similar to the 10si/12si conversion) and the top
bracket needs to be bent a bit to align everything. I had the ribbed Corolla
pulley replaced with a V-belt pulley at Texas Alternator while they were
rebuilding it. I didn't weigh the alternators but this swap should be good
for a couple of pounds off the front of the car.

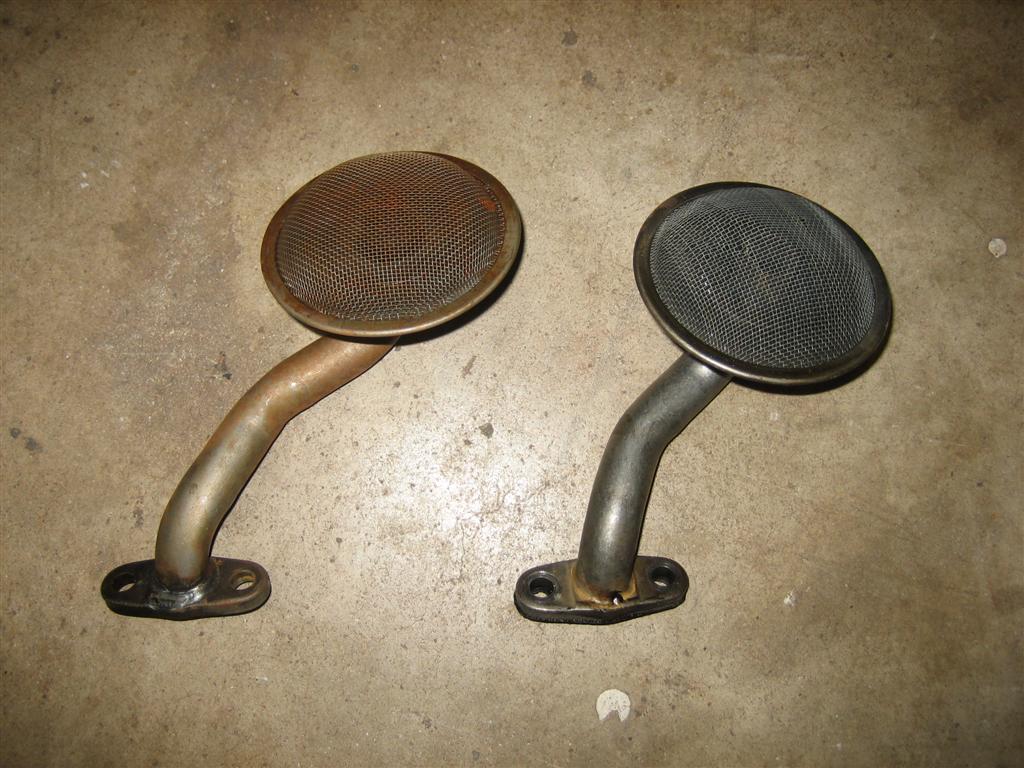
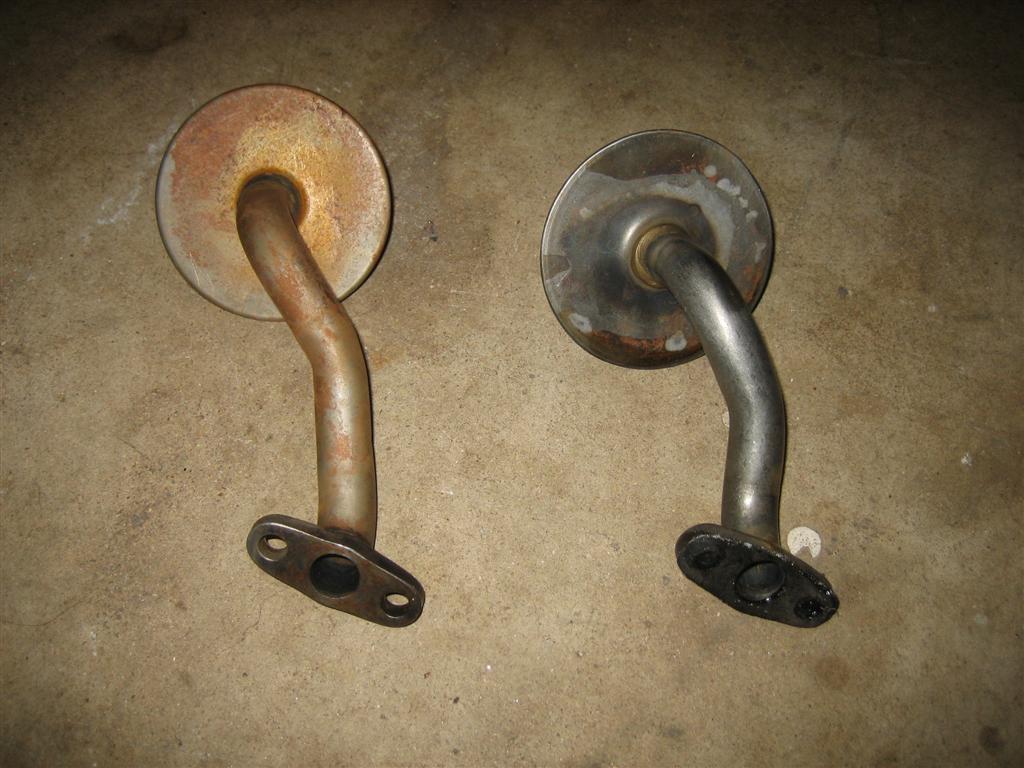
ZX and Z oil pickup comparison. ZX is on the left and is a bit longer to clear
the baffles in the AZCar cast oil pan.
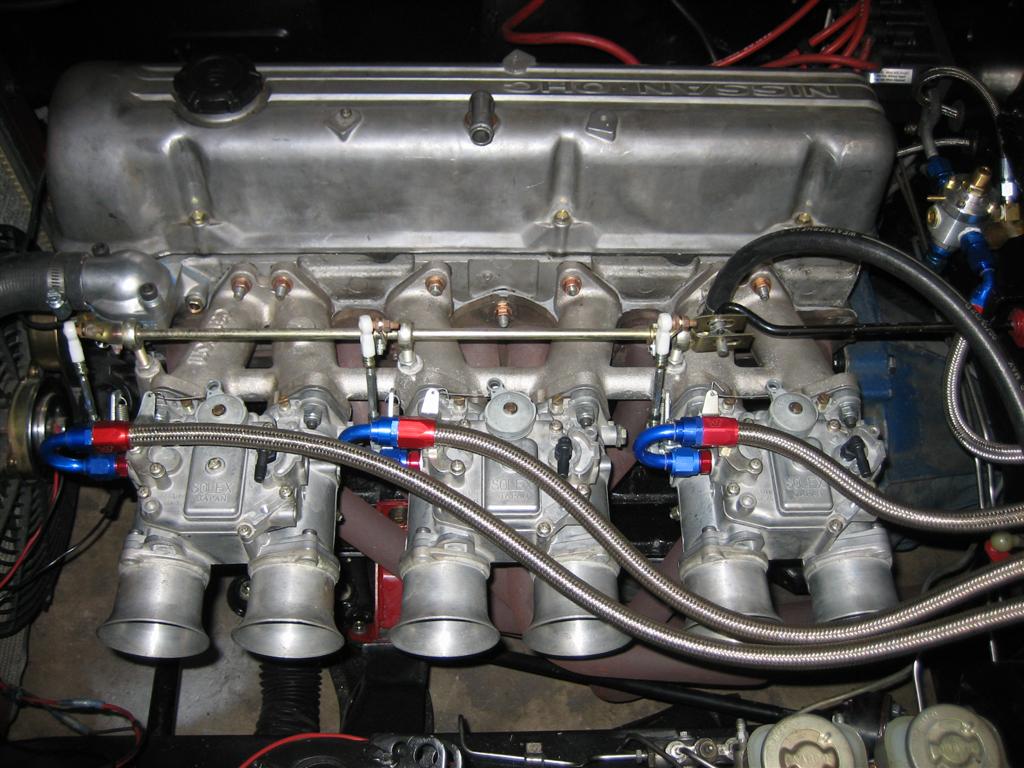
Back together again!

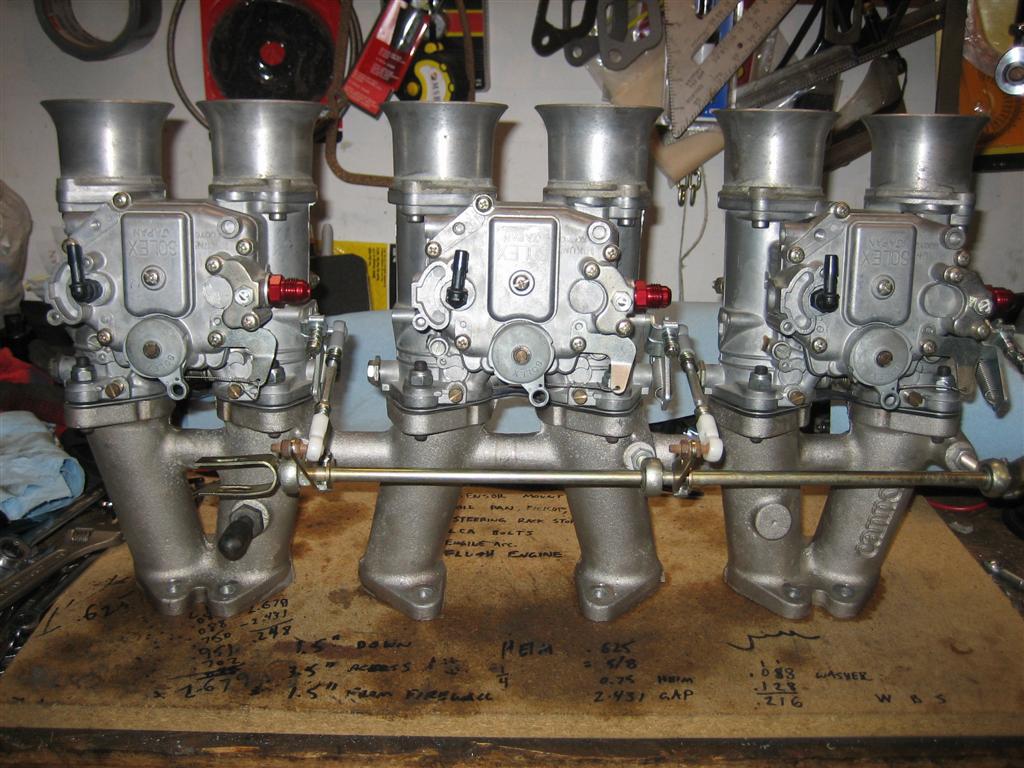
After a major setback involving a stripped oil pump gear on the crank it
was finally time to install the new Mikunis and button everything up. These
pics were taken the week before the first event for the new motor! (It was
a long week!)